How to Create an SPL Token on Solana Without Code
Launch a SPL token on Solana without writing code. Follow this verified Slingzero workflow covering wallet setup, metadata, authority controls, and launch-day QA.
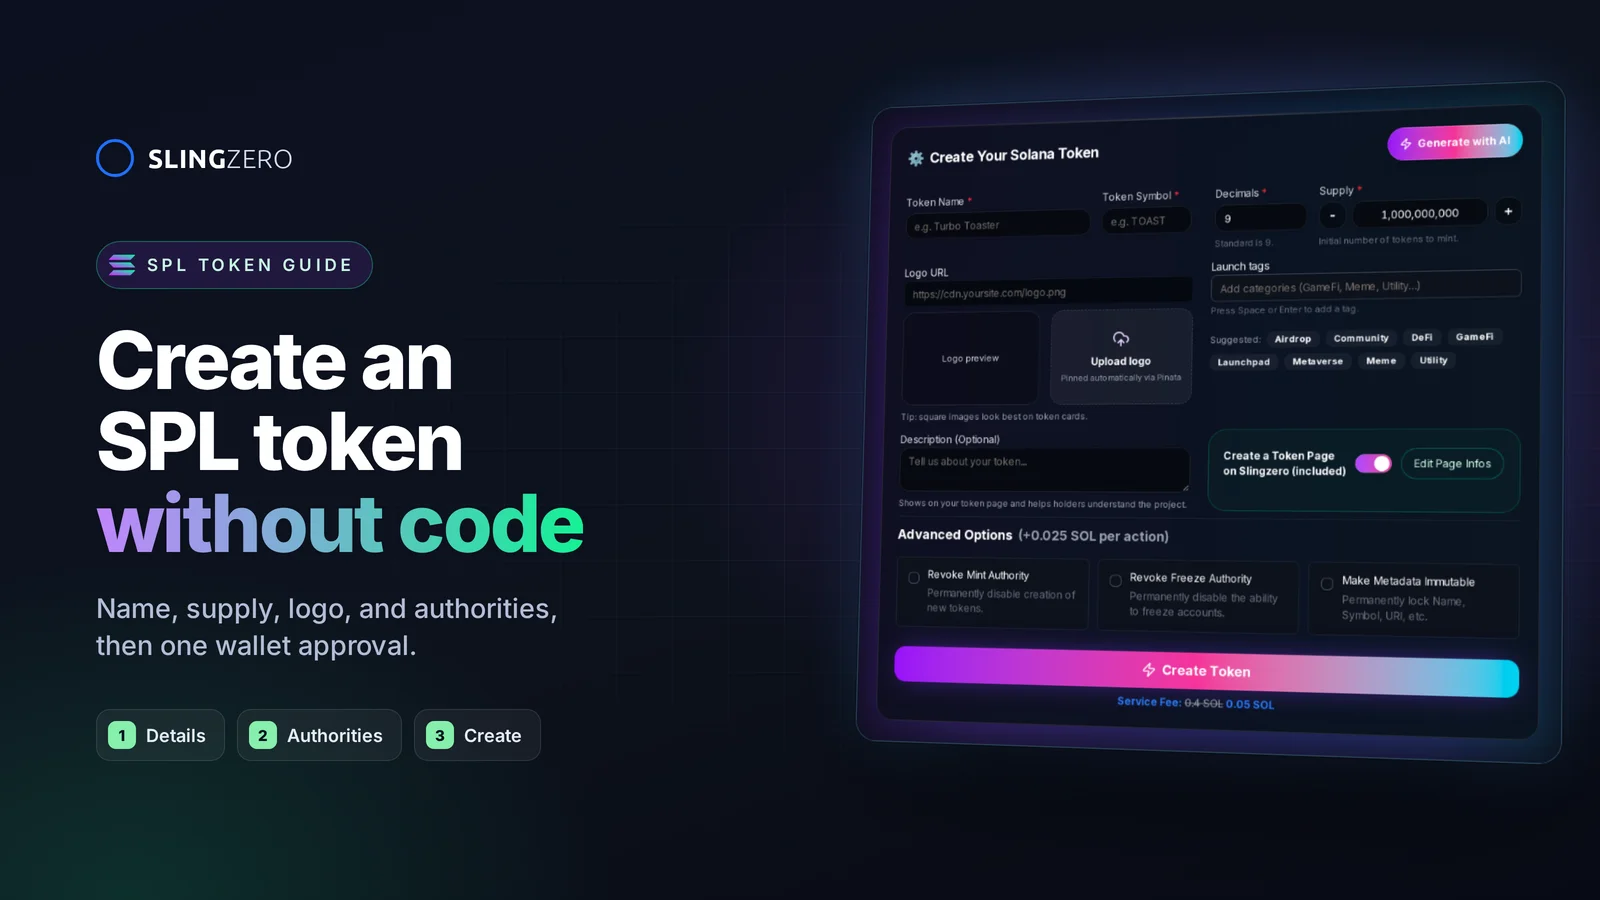
Introduction: why build on Solana right now?
Solana’s token programs provide the on-chain instructions used to create and manage fungible tokens. With Slingzero, you can configure an SPL token through a guided interface without assembling Solana CLI commands. Your connected wallet remains responsible for approving each transaction.
Quick win: Bookmark the Create Solana Token flow. You’ll use it repeatedly as you iterate on testnet and mainnet launches.
Need a deeper security checklist once the token is live? Pair this walkthrough with How to Launch a SPL Token on Solana with Security Built In to lock down authorities, metadata, and incident response.
What you’ll learn in this guide
- How to configure clear, standards-compatible token metadata.
- Which authorities to keep, and when to revoke them.
- How to wrap up launch-day QA like a pro.
Step-by-step: create your SPL token
1. Connect a supported wallet
Head to the Create Token workflow and connect a wallet such as Phantom, Solflare, or Backpack. Hardware wallets routed through Wallet Adapter work too.
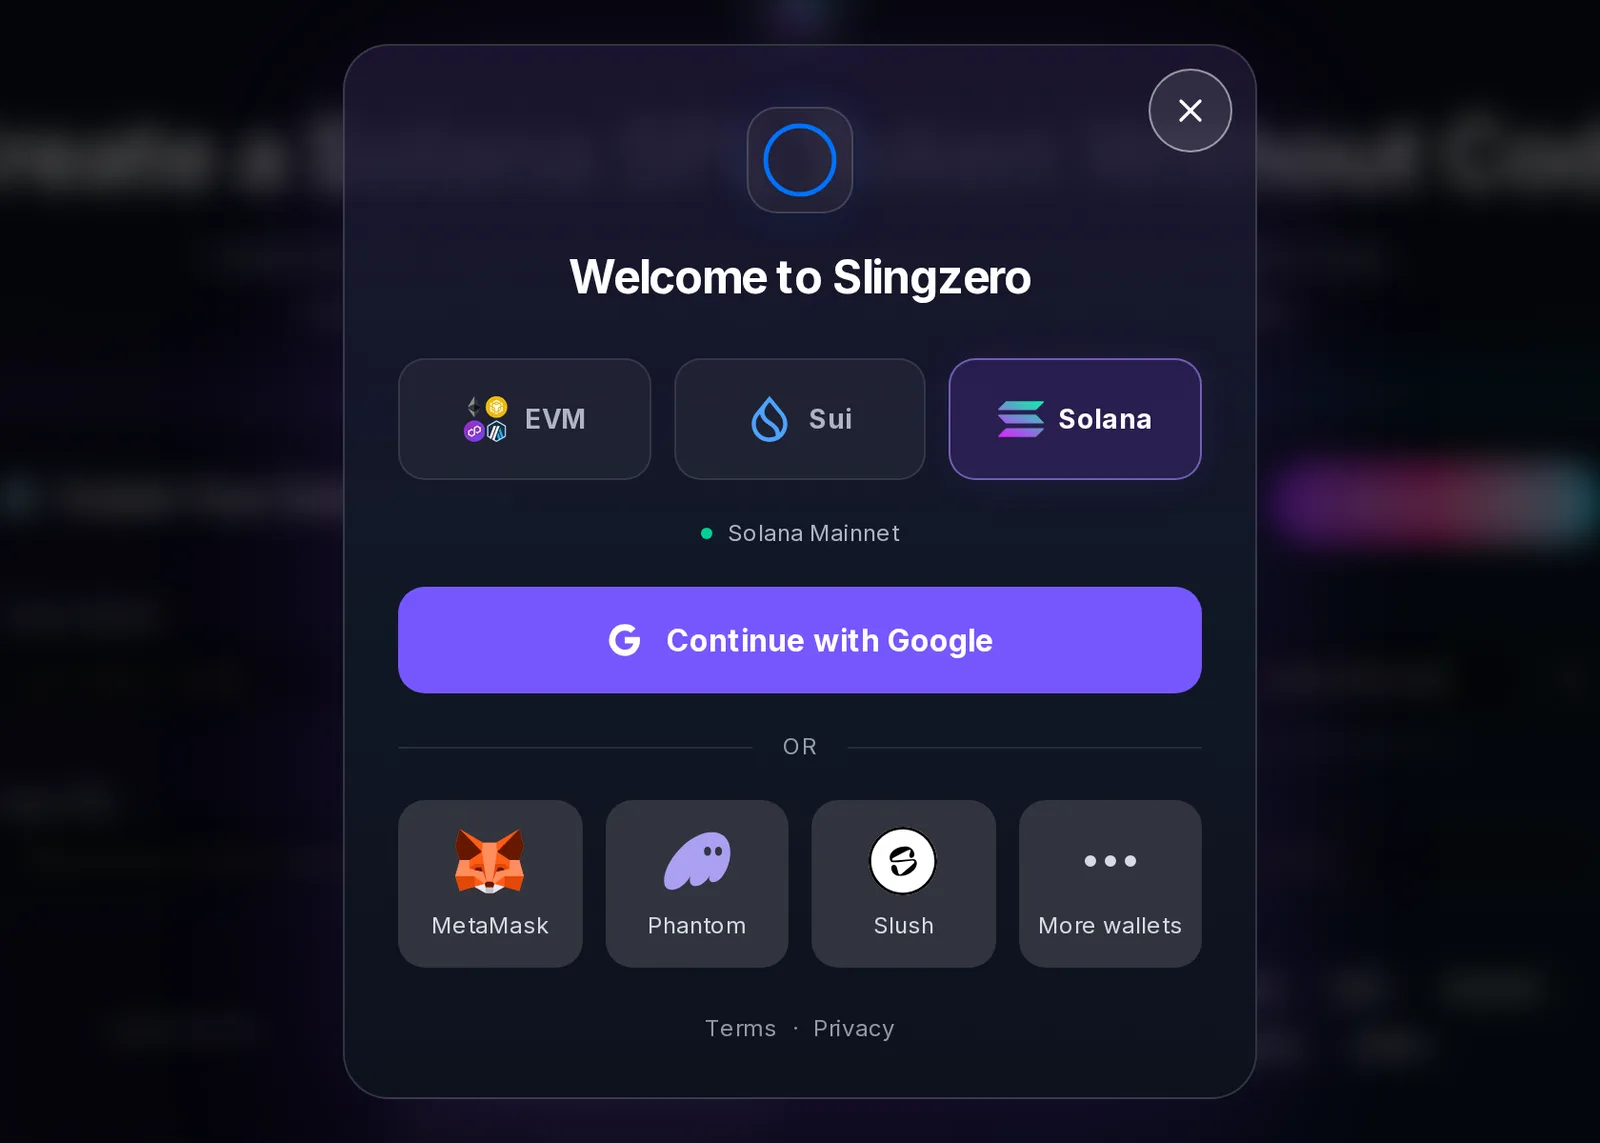
Checklist before you continue:
- ✅ You are on the correct network (Devnet for rehearsal, Mainnet for launch).
- ✅ Your wallet holds enough SOL for rent + transaction + Slingzero service fees.
- ✅ Your metadata image is compressed, square, and easy to recognize at a small size.
2. Configure token metadata
Fill in the core token properties:
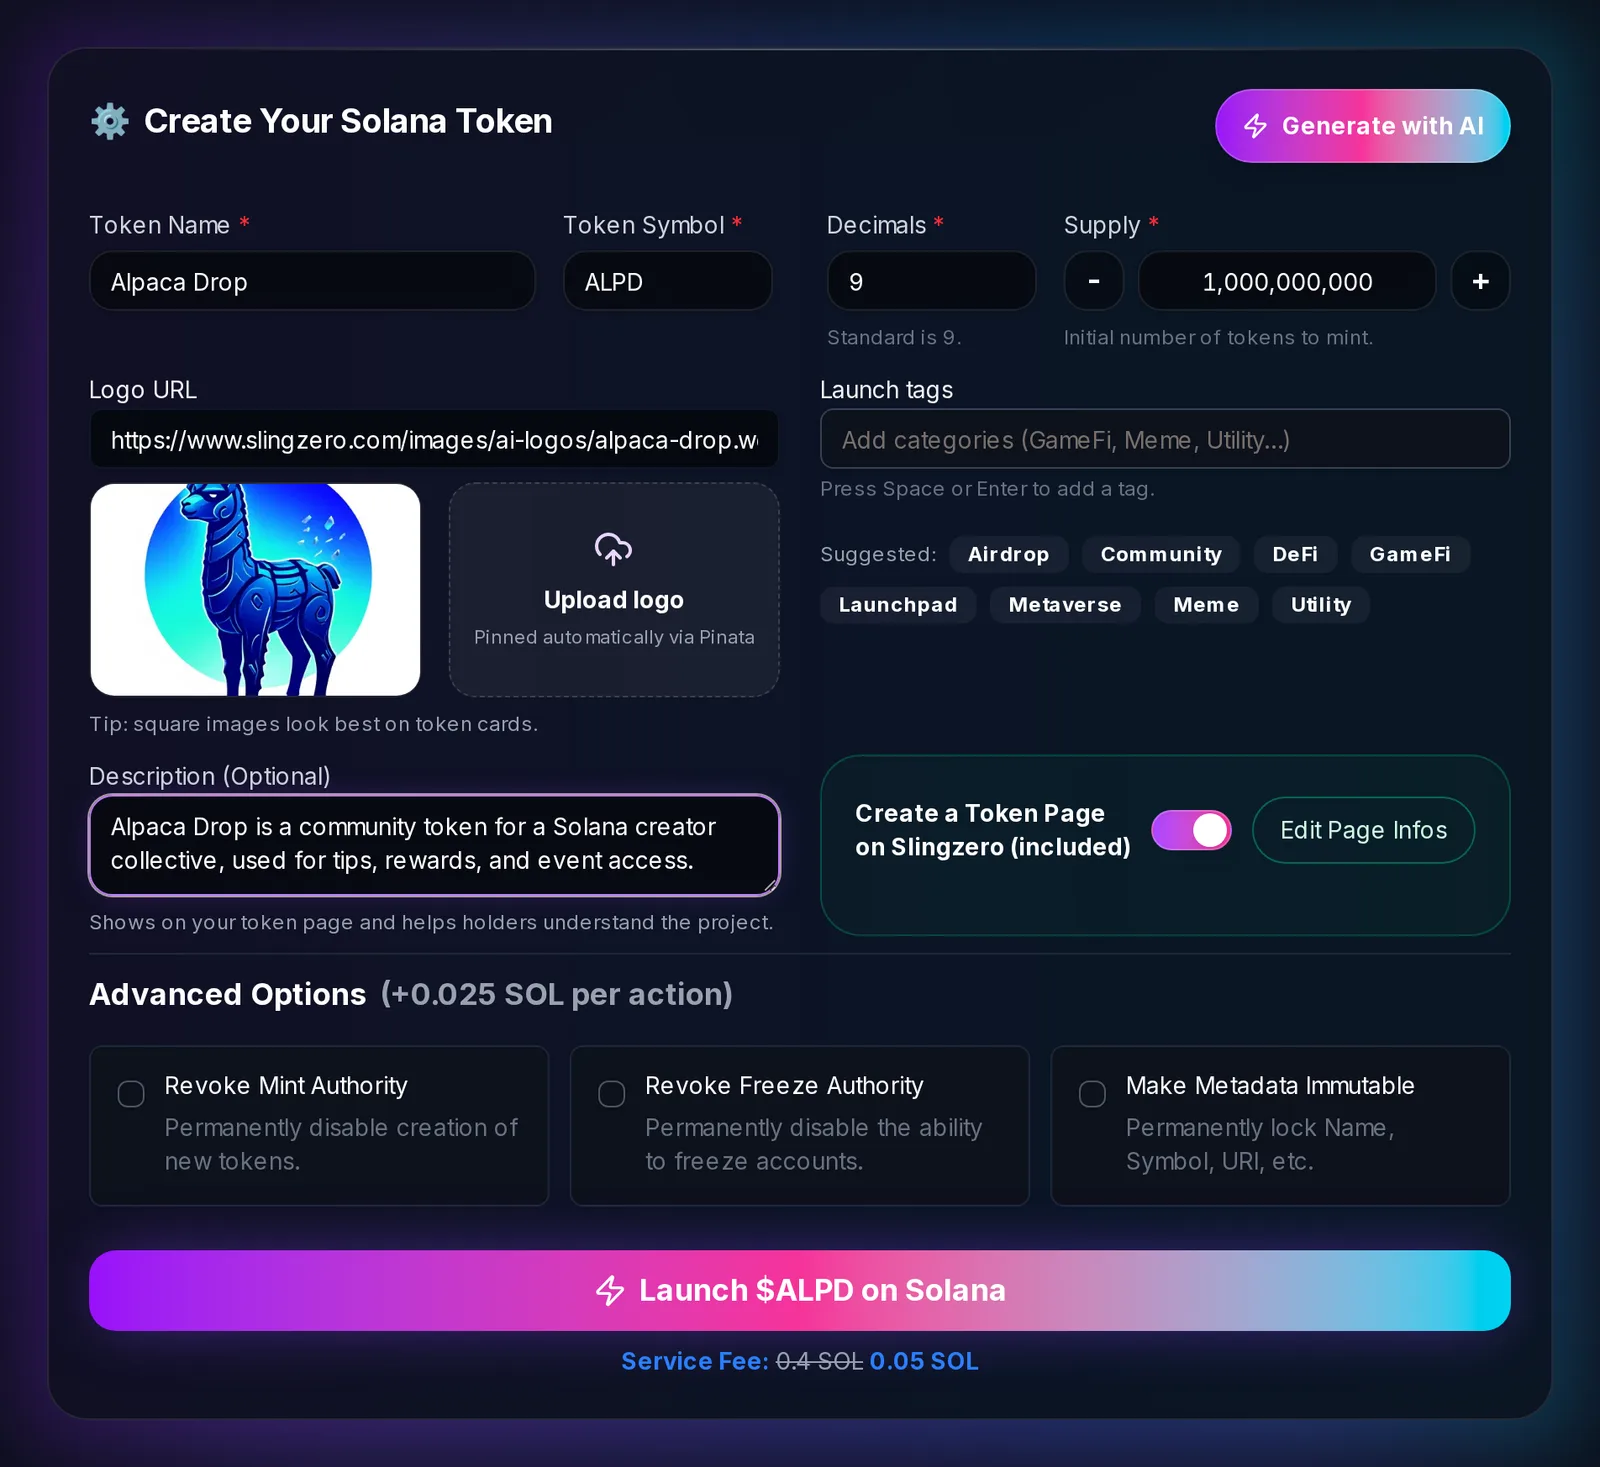
- Token name & symbol – Keep the symbol concise so it displays cleanly in wallets and explorers.
- Decimals – The Solana default is
9. Deviate only if you have a clear UX reason. - Initial supply – Define the minted amount that will hit your treasury on creation.
- Logo & description – Upload an image or provide the supported URL. Slingzero prepares the metadata and image for IPFS-backed storage; verify the final URI after creation.
Use the preview to confirm everything looks right. Metadata typos can erode trust in seconds.
3. Secure authorities on creation
Slingzero presents the available authority controls in the creation flow:
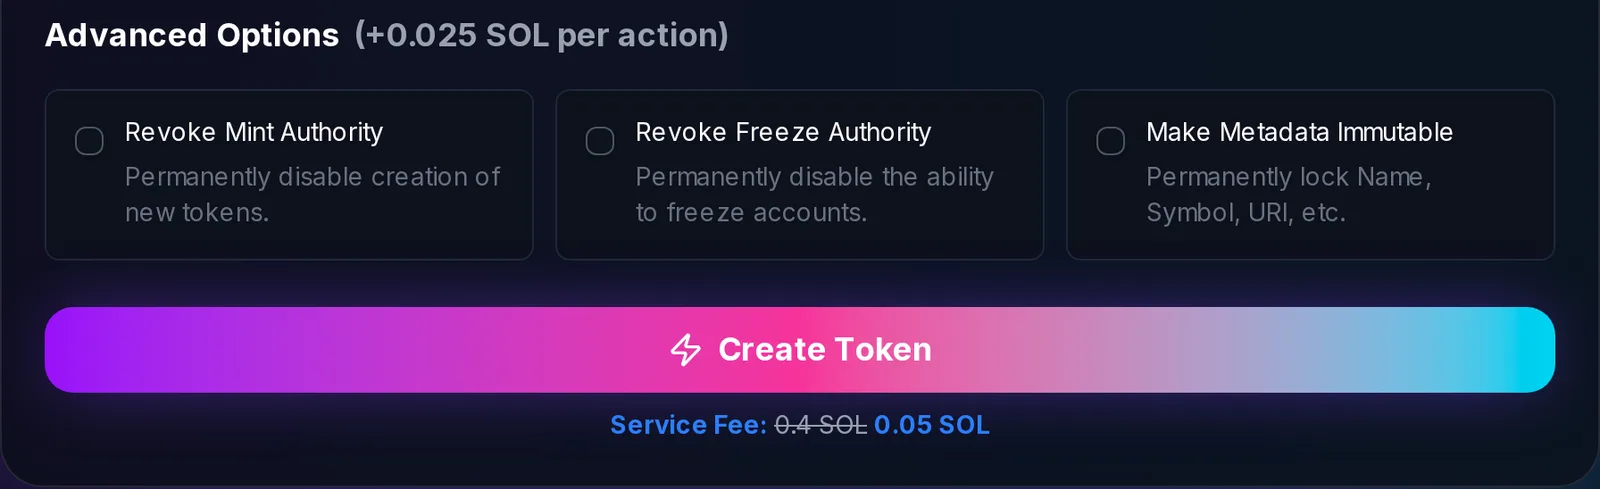
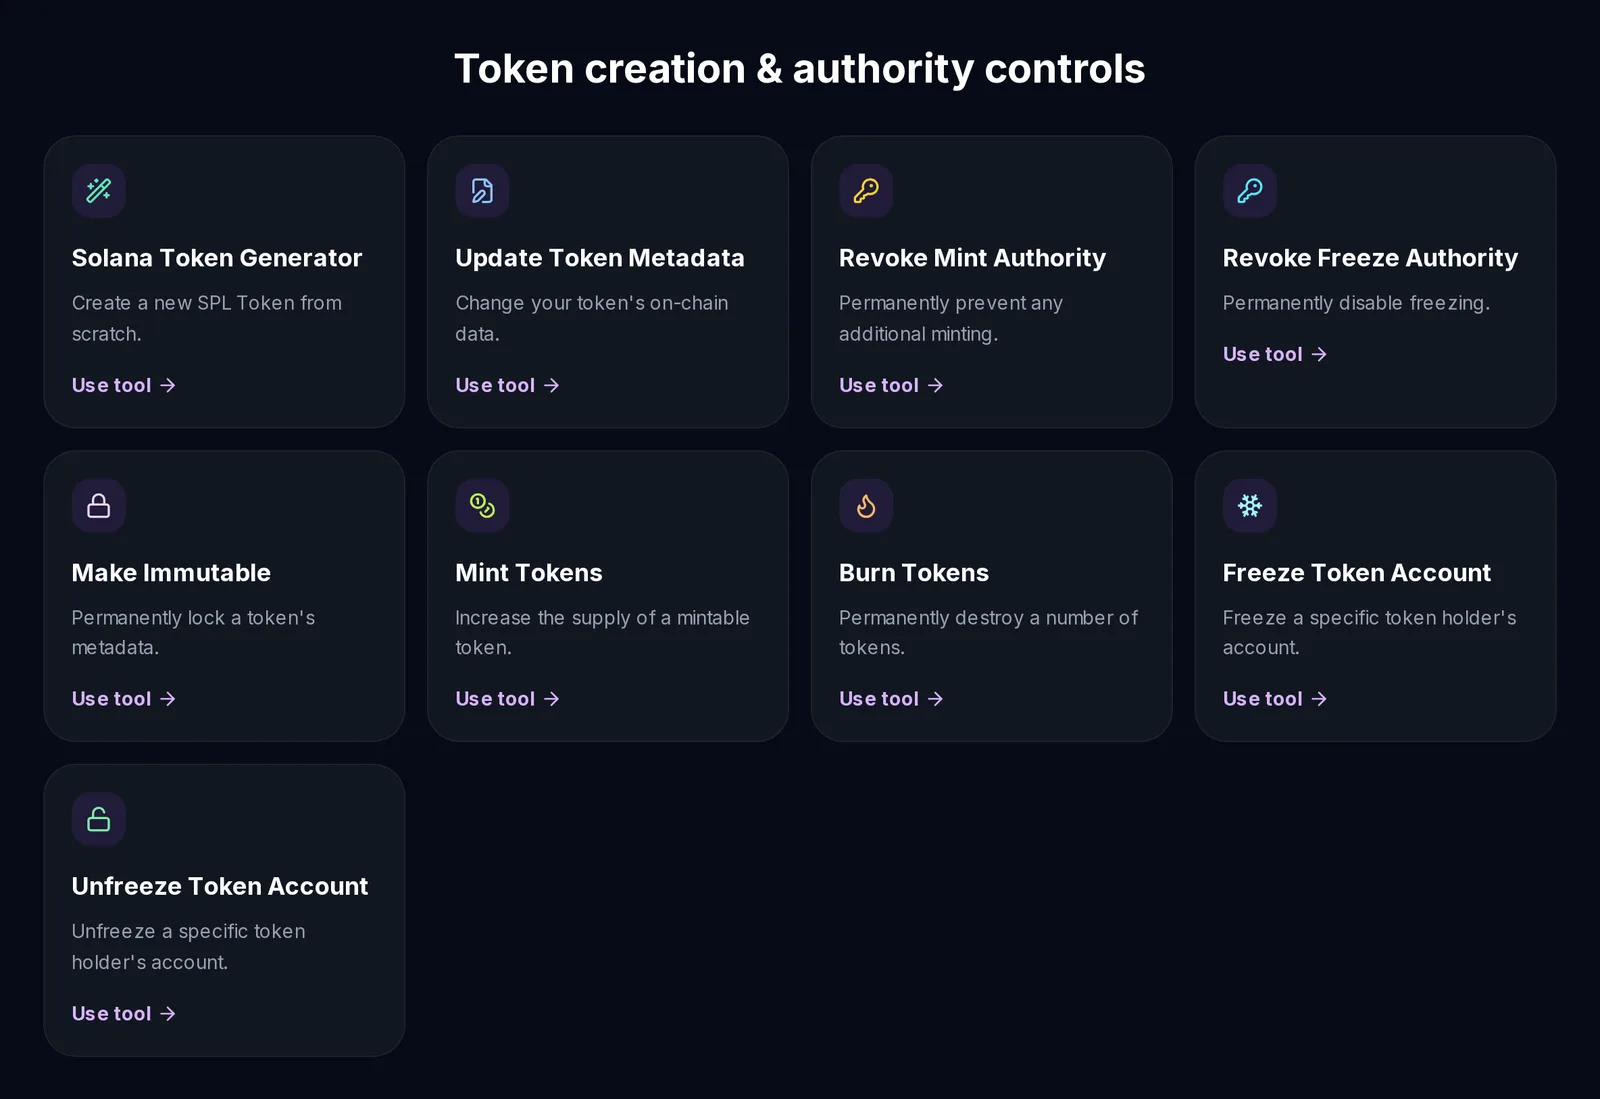
- Mint authority – Revoke immediately after creation to prevent unplanned inflation. You can always mint more later via Mint Tokens if you keep the authority.
- Freeze authority – Freeze is optional, but revoking it is often expected before public listings.
- Metadata immutability – Lock the metadata update authority only after every field and URI has been verified.
These switches run as additional Solana transactions routed through the same UI, saving you manual scripting.
4. Approve & verify on-chain
When you click Create Token, Slingzero prepares the required accounts, metadata, and initial mint as a guided transaction flow. Read every wallet prompt before approval.
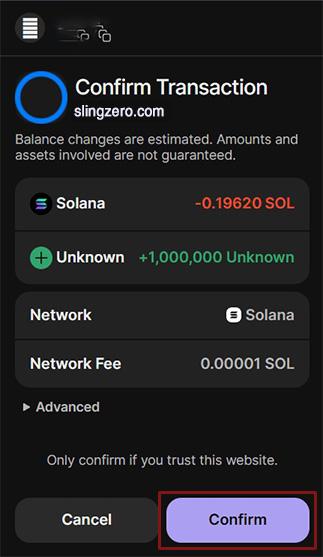
Immediately after confirmation:
- Copy the mint address and verify it on Solana Explorer.
- Add the mint to your wallet to visually confirm balances.
- Save the mint address in My Tokens and retain the explorer transaction with your own project records.
Post-launch actions that professionals follow
Share immutable proof
Post the mint address and authority status from My Tokens immediately so your community can verify supply controls without digging through explorer links.
Distribute supply safely
Use Solana Multisender to validate recipients and prepare airdrop batches without assembling custom transfer scripts. Retain the confirmed transaction hashes.
Manage supply intentionally
Need to adjust circulating tokens? Visit Burn Tokens or Mint Tokens based on your supply strategy and document each move in Activity.
Add liquidity when ready
Once you are confident in the launch, seed a Raydium pool via Liquidity Pool Tools and publish the pool address so early holders can verify depth.
Keep security top-of-mind
Before or after these steps, review the advanced guidance in How to Launch a SPL Token on Solana with Security Built In so your authority policies and monitoring playbook stay aligned with the rest of your launch checklist.
FAQ: answers for new issuers
Fast answers for founders comparing token launch, authority, liquidity, and post-launch workflows.
Can I test on Devnet first?
Yes. Toggle the network to Devnet and treat the output as a dress rehearsal. The creator displays any applicable service and network costs before approval.
What if I need to change metadata later?
If the metadata authority is still active, use Update Metadata to revise names, symbols, or imagery before making everything immutable.
How is Slingzero different from scripts or open-source CLIs?
We surface the main token settings in the UI, include network costs in the review, and record supported Slingzero actions in Activity so a team can refer back to its workflow.
Final thoughts
Ready to see it in action? Open the Create Token workflow, review each field, and rehearse on Devnet before committing a mainnet launch.